Showing posts with label Forum. Show all posts

Monday, November 11, 2013

Hat Hoop for Custom Caps

I received my Hat hoop so I can now embroider baseball caps!  Woo Hoo!  I've been wanting to do this for DH for a while, so found a great price on one and got it (EBay Best offer).. I was only able to find one blank cap for my first test.  It was tricky to get the hang of, and the results came out, but it was a rough go of it! :)  I learned a lot about it on that first run, though.  I had utilized my comrades on my Sewing Forum to get pointers.  That forum is more sewing than embroidery, but I received some help... So on hats, you are dealing with size on the embroidery area. I guess that's pretty obvious, but when you are designing, it's also important to get the design in a vertical orientation.  So I had fun and here's my test cap:


I used the design from Embroidery Designs.com and added wording with my nickname.

So the big trick is to make sure the sewing area you are embroidering is super flat and adhering to the stabilizer.  I should have known better, but the sample piece of sticky stabilizer they enclosed was junky.   I am now using spray adhesive - worked excellent on the 2nd cap.

The 2nd cap...DH has a couple of caps laying around...I used a denser design, which worked out just fine, and as you can see I was able to get the design lower to the bill than my test cap.  I am off to the races now.  I am going to add "Lone Wolf" to the back of the cap below.  a pic will be added when i get that done, but here's the front.  The design was a nice design.


Well, That's the caps so far, might make some for the peeps on the forum.

Cheers, 

JDol

Here's the back of the hat:


Cheers!

JDol


Saturday, November 9, 2013

Latest Mod - Radiator Grille Cover

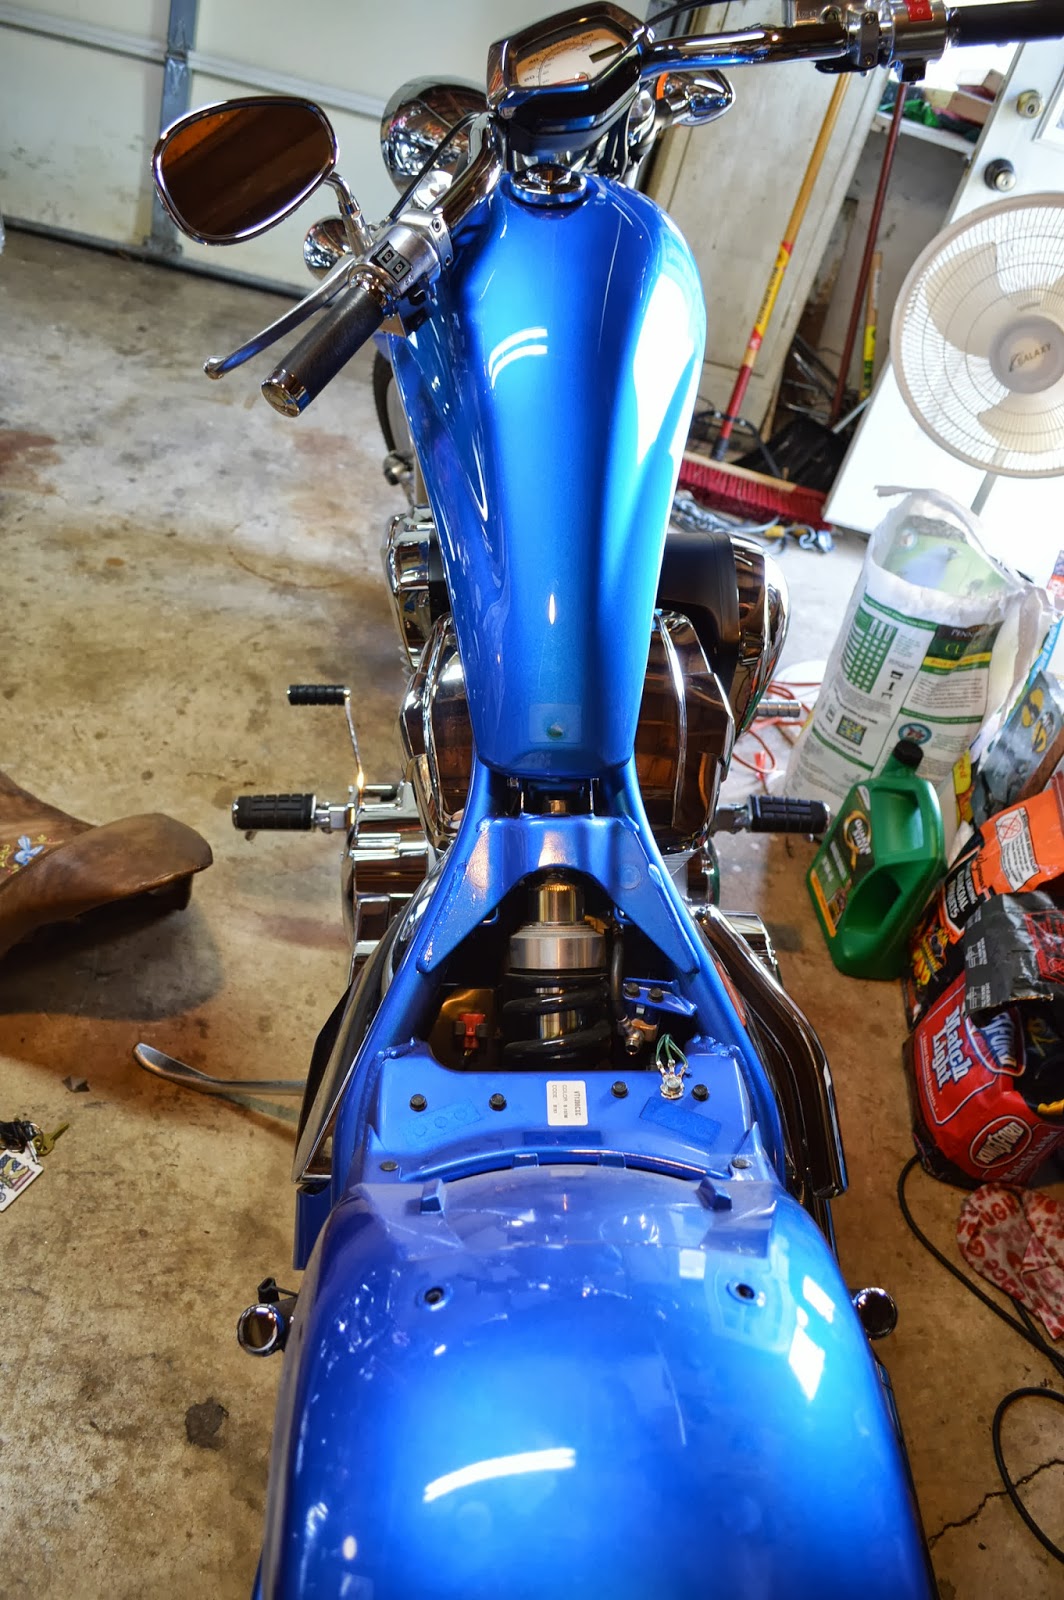
So... It's called Moditis on The Fury Forum.  Hooked on doing mods to your bike... we all have it when we own fury's.  I guess many bikers have it, to make your bike your own; unique - you know how it is.  I think Blue J is coming along nicely now with my latest mod - the Radiator Grille.  I am going with a "Chopper Cross" theme and Blue J theme on the bike, so I've been wanting to get rid of the junky OEM black plastic grille cover that the dealer had hanging on with a plastic tie lol.. and get a nice chrome one. Hadn't found the "perfect" one yet, so many things are skulls out there - quite the popular theme - skulls and flames. not so much for me :)... So, as usual, hanging out on the forum, you find links and such from folks, and that's what I did to this seller on EBay: Ferreus Industries And found an awesome grille cover for the Fury, (which also doesn't have a zillion custom parts out there, BTW.) Just right for me.  They shipped super quick and the grille is awesome.


I pictured with this grille I would then purchase a 4 or 5 inch Maltese Cross to mount onto the grille so I could have my theme. So I found this one (billet, chrome):


From Ebay Seller: Asset Liquidation Co. They shipped fast and this was a great item.

So i spent about 2 hours, (yes I am a novice!) but I installed it all by myself! and I am proud of that.  I am trying to do everything on my bike by myself.  DH (dear hubby) might have to help with some big things, but I really want to be doing these things myself as much as possible.  The cross is mounted with permanent double sided mounting foam tape. The mounting screws did not align properly.  I am already resigned to the fact that i might lose it, if the tape malfunctions at some point, but this is how I have chosen to mount it at this point.  If at a later date I re-think of another plan I will proceed differently.  

So, I think it looks awseome!!! a great addition to the look of Blue J.  


She's really starting to look custom-ized...

I also got the word this week that my Ginz sissy bar was shipped and will be here soon!  I will install soon after, I hope I can do it, cause there's drilling involved and fender removal, and such! Oh boy, I just got okay with getting the seat off :) now I've gotta remove the fender and drill holes?? Oh my.  But I will be proud to be able to do this myself!!!!  I know I can do it with my "Installation Angel" on my side... He was on my side when I installed the radiator grille, when I made the custom seat cover and tank bib... and Oh! did i tell you?  I'm making custom grip covers for the the grips on the handle bars... :) i think they should match the leathers on the seat/bib... still deciding.  Should just take a piece of the leather out there and see what it looks like - then the agony of choosing the design!!! that is the best kind of agony though :)

Hubby is going for a ride in this 27 degree weather!  Me? I gotta go to JA cause my Hat hoop is coming today and I want to test it out, so need some scrap hats to play with.  Fun weekend for me :)

Cheers!!!


JDol


Friday, October 25, 2013

More patches

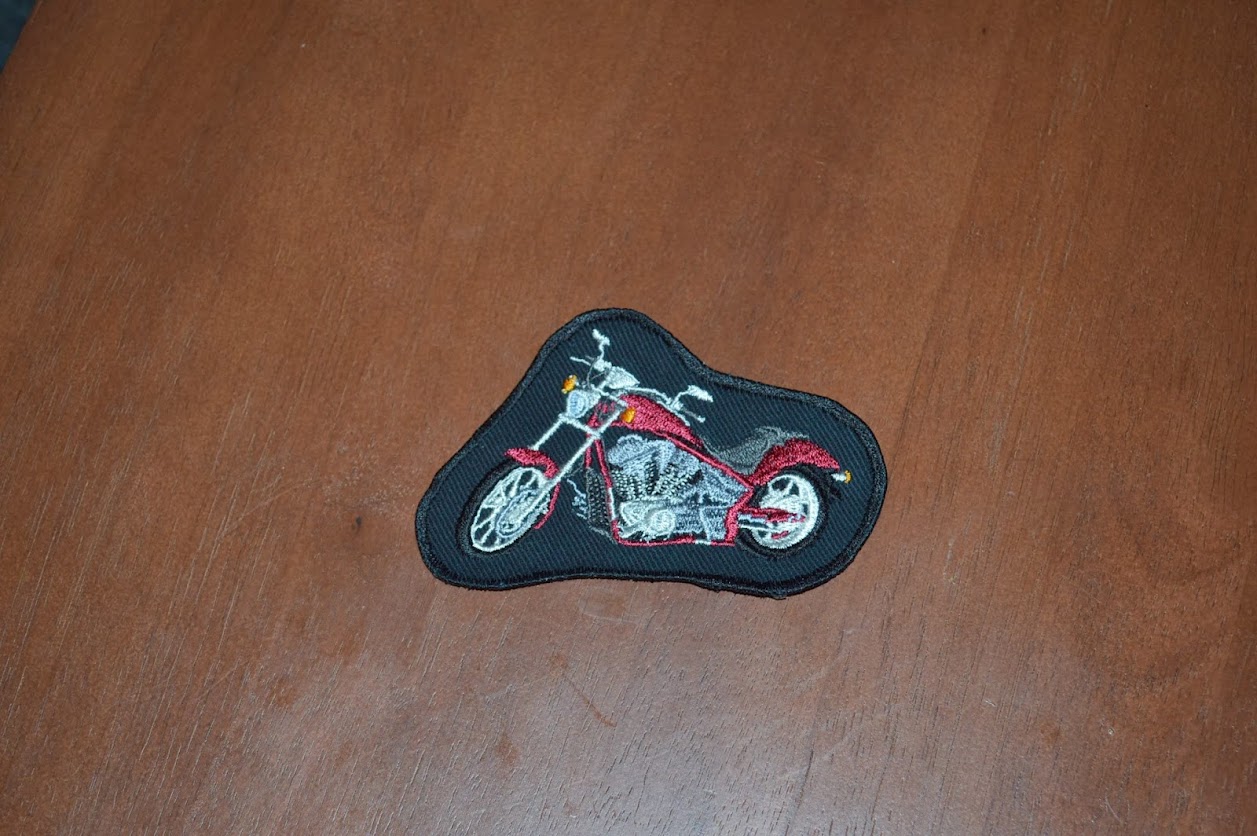
Well the patches are real kewl.  here are some of the ones I've done. So far they've shipped to the UK, Australia, Canada, PA, SC, FL.


Lime Green with Dark Red Wings.


Gee, I've got to make one for MY vest LOL...

One comrade from the UK has ordered a vest and is having it shipped to me so I can embroider designs onto it. (another is shipping a jacket fro my jacket design) ...He asked for the design below, which was designed by the forum and is used throughout.  They make hats, and what not.  Well, The request was for a back patch - those are in the 8" range.  So... I gave it a shot and went in and redrew it into my digitizing software, and made the design into a stitching design! I was floored that it actually came out looking exactly like the logo! I'm still amazed every time i look at it!  I'm actually stitching one of those out right now for someone, blogging while it's running. Next I need to practice the silhouette fury design - see if I can draw that one into the program.  When I showed DH and told him I was so amazed at what i did - he said "I'm not" saying he knew all along I could do it.  He's my biggest champion.  He thinks I can do anything :)  Check this out:


To this:


The one I'm making now is white skull with blue wings (Fury Blue). It's coming out nicely. 75 minutes into already. About another 1/2 hour to go-ish, if no snags. :)

Then the guy who had the FURY with wings asked for the skull/wings in Lime Green and Dark red.  That really looks killer in person. Will stitch that up next actually

Well that's all for now!

Cheers, 

JDol


Thursday, October 17, 2013

Honda Fury Patch for Vest or Jacket

Well the guys on the Fury Forum Love the patch!  I love it too, it came out really great.  Once again, the design came from ThreadArt.  I stitched it on 10oz Bull Denim, and then cut it and made a border, freehand.  Couldn't have done it better, now hope I can replicate that a billion times, since there are a lot of guys on the forum asking for patches now. :-)  DH thinks I can do anything, so of course he'll say yes.  I think I can, too.  Invicta asked to have the name of his Bike added ("Rita") in Gothic lettering.  That's a nice touch.

Here's the dark red color one.


Requests for Blues and a Black, and a custom one for SinisterTurtle.  His bike will be a challenge! but we'll give it a shot! I'm sure I can get close  :-)

Cheers!


JDol


Sunday, October 6, 2013

Custom Tank Bib

Well my next project was to make the custom matching tank bib.  1st made the template.


The tab on the bottom would be for the bottom tie that would go underneath the seat and tie off on the bars under there.  There was the same tab at the top, to slide the leather tie through there to tie off at the neck.  The template looks slightly large because it has the seam allowances.

Once i decided on the design, the rest was real easy on this bib. Simple gluing, sewing.  I say simple because I have already worked with this material often, so I know it's behaviors, and I'm pretty used to keeping the seams straight going down the sides.  You need to glue the seams over first on leather and then you stitch them.  The only tricky part was making sure the gas cap opening was going to match up correctly.  My sewing angel was with me (as always) and that came out pretty good.


I installed magnets (disc magnets) on the top to round the bend and on the bottom, and covered the magnets in velvet to not scratch the tank.  This helps the bib hug the tank's roundness up top.  Used leather ties through the tab loops I made at the top and bottom and tied her on.  I like the look.  I had entertained the thought of studs, but 1. they were going to take too long to get here, and 2. i didn't install them on the seat, so....  I have the studs now, so I can always add them, but not sure I want them at this point.

Oh yeah and I also removed the reflectors!  it was hilarious actually, I had posted a finished photo on my Fury Forum, for "what did you do to your fury today" and got a comment "Now you really need to lose those reflectors"  i laughed at myself, felt like a real rookie. :-)... Next morning, reflectors were off.  Took about 45 minutes with hair dryer, care and goo gone. :-)  here is the before and after.  LOL


Contemplating the rear fender bib, but not sure where to go on that.  I am dying to get my sissy bar, I want a tall one, I think it keeps the chopper look, but $$$$$$$$$... we'll see how it goes, but that is scheduled to be my first "Mod" mod.  I consider this really dressing.

Cheers!

JDol


Monday, September 9, 2013

My First Mod - Custom Seat


I joined a Fury Forum and am starting to learn some stuff about Fury's and also meet other Fury owners from around the world.  It seems the big thing about being a Fury owner is making mods  to the Fury's to make them each unique. Some are downright fancy as all get out.  I am making my first mod - re-doing my stock seat.  I am making a custom cover embroidered with her name "Blue J" and a design.  Here is the prototype. it looks good on the bike, i laid the design on my seat to give an idea what it might look like.


I may or may not leave the date on it, not sure yet. but I really like the material, the design, and the name, how that all came out.  I ordered an OEM seat, so I could work on it in spare time.  I am going to install a gel pad to make it more comfortable. A Pro Pad Gel Insert from the Pro Pad company.  They have Cushions and Inserts.  I'm trying the Medium Insert.  I am going to follow This Tutorial I do not know how to load the video into my post here.

Okay all my parts are here. Let's begin...  We need to make the cover, insert the ProPad, and assemble it.  First We'll need the pattern, so let's take off the existing seat cover and disassemble it to make the pattern.

Remove staples with screwdriver (flat head) to pry up, and pliers to pull out.


Then peel the cover off the stock foam. We want to be somewhat careful here so we don't pull up pieces of the stock foam with the cover, or else we will have a lumpy foam base.  I say "somewhat" because we will be cutting out a good portion of the center to install the gel insert.


OK, so let's disassemble....


Now I've learned (the hard way) that the collar, should not be cut to size right away, or else you won't have enough to stretch over the pan to staple.  just leave a lot of room on that for that purpose because you can trim that up at the end.

So I cut out the pieces to my pattern. (don't forget the seam allowances.)  It's best  also to fold the pieces in half so the left and right side match equally. Then I did the embroidery.  So Far So good.  I also wanted some strength for the seat, so I spray glued two pieces together.


Well let's see how the seat will come along...

Let's mark it off...


We'll need to cut down the ProPad


(Yes, I signed it LOL)

Okay then trace it onto the seat foam and mark off the blocking.


So then i was following that tute and marked off my cutting knife for 1/2"


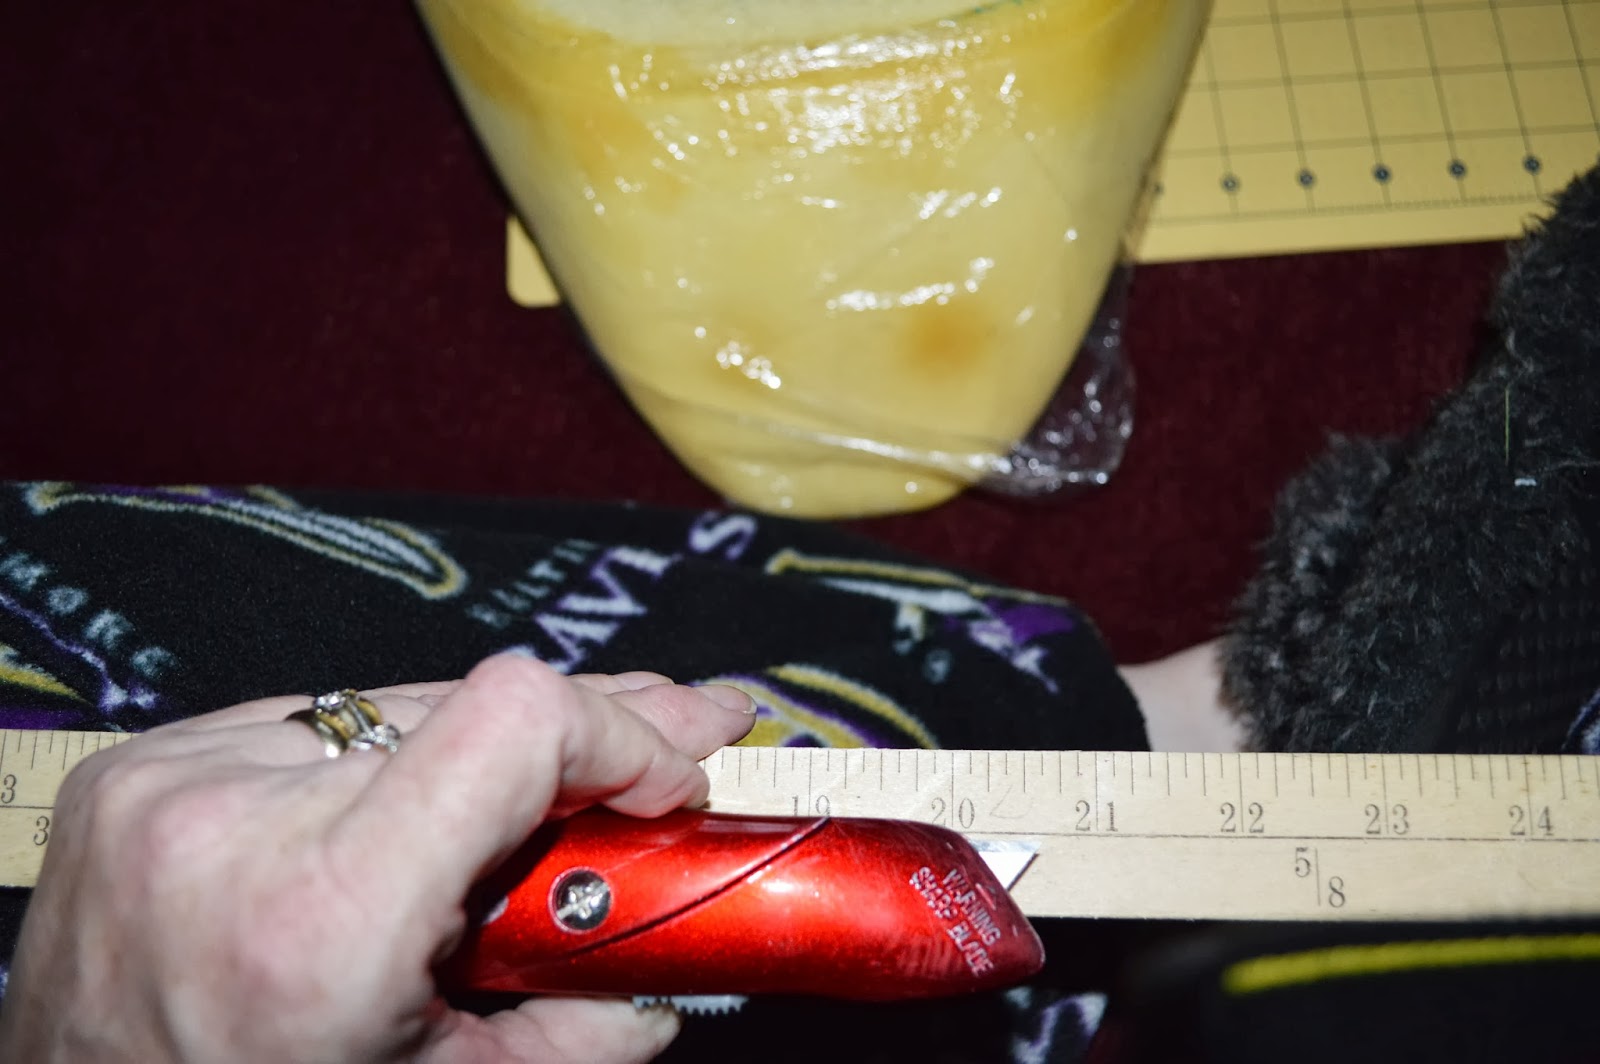
Started cutting the blocks out - not quite as e-z as you might think this might be. then peeled out the foam and it was coming out a little choppy, since i was unable to find a straight edge razor to cut underneath the blocks.


SO-o-o-o-o  I decided to use DH's Dremel.  This, too wasn't as e-z as you might think, however did a much better job, albeit QUITE messy. It is best to have it set on a very fast setting.


Made additional adjustments but this is what we have.  This should be comfy.

a fellow furyan on the Forum, said the best foam to cover it with was memory foam, so that's what we did.  We had purchased a sheet from Walmart for $14.


So, now we had to sew together the seat. Gee I hope this comes out.  Here we go... Since it's leather ( okay this is faux leather, but same principles apply when sewing ) you need to clip it instead of pin it, 


Now we have the major part of the seat done.  There are two "tongues" on the front and rear - I assembled those last, no pix.


I'm excited that this is working out pretty well.

Now let's see about getting this baby on the seat/pan. Will it fit????


Well, it fit, however I had to add those extra floppy pieces to give enough material so that I could staple to the pan.  However, the way I sewed those pieces on wasn't the 100% correct way that I wanted, (long story) so, the end result was that I was not really going to be able to glue the cover to the foam on the seat, the cover was too temperamental to get on... so while the end result was less than perfect, I know for next time, I can always re-make a cover any time I want, and i sort of think it has some charm.  (or am I trying to convince myself???)


I must say it is mostly right on centered, appropriate looking, stunning colors. Now let's get it on the bike and see....

Taking the seat off, was allen wrenches.  I had a set that I've had in my bikes for years, so why wouldn't I think they were Metrics?  So I just go and find the one that seems to fit the head.  Got one side off, and then oops stripped the 2nd side.  Now what???  Well, hubby came home in time and informed me that i was merely using the wrong size allen wrench.  He fixed me up, got me outta this jam, and I learned a few basic things.  So i got the seat off...


Installed my new one and let's have a look-see...


Love the color....


Posted a pic on the forum, and the guys told me gotta lose those reflectors.  Now they are really bothering me, so first up today will get those babies off!  (Hair dryer, Dental Floss, and Goo Gone)


Have a tank bib pattern cut out along with a design, thinking about a rear fender bib, and now the real nice Saddlemen fork bag (BLACK) that had to be put on the front, (now I'm riding solo seat) doesn't go, and I will need to make a matching one out of this same material as the seat.  I think I will need to make that before the bibs.  My only other choice is to add some of the material to the Saddlemen bag.  I just thought of that now, so I'll take a look in a bit to see if that will work out.  It can be a two tone fork bag.

Well I took a test ride yesterday, cruised for over an hour, and when I got off her I at least could walk! So the seat has been improved.  My first Mod.  A Success Story.


Cheers!

JDol